
| 일 | 월 | 화 | 수 | 목 | 금 | 토 |
|---|---|---|---|---|---|---|
| 1 | 2 | 3 | 4 | |||
| 5 | 6 | 7 | 8 | 9 | 10 | 11 |
| 12 | 13 | 14 | 15 | 16 | 17 | 18 |
| 19 | 20 | 21 | 22 | 23 | 24 | 25 |
| 26 | 27 | 28 | 29 | 30 |
- 우분투 파이썬
- 안드로이드 mvp
- 유니티
- mvvm
- Data structure
- unit test
- java
- PYTHON
- Kotlin
- flutter
- 안드로이드 테스트
- Apollo GraphQL
- Nexus GraphQL
- Dependency Injection
- Android
- Android test
- prisma
- Design Pattern
- dagger-hilt
- MVVM pattern
- LinkedList
- graphQL
- 파이썬 크롤링
- Apollo Server
- 안드로이드
- 자바
- 안드로이드 디자인패턴
- 자바기초
- 웹크롤링
- ubuntu python
- Today
- Total
Hun's Blog
Nexus without database test Tutorial 본문
해당 예제는 아래의 nexus tutorial을 기반으로 하여 작성하였습니다. nexus 예제와 다른점은 npm이 아닌 yarn으로 변경된 것과 testing api를 위주로 설명하는 점입니다. npm으로 작성하고자 하시는 분은 아래의 예제를 참고하여 작성하셔도 됩니다.
Nexus tutorial introduction
An introduction to the Nexus tutorial.
nexusjs.org
예제 작성환경은 mac 이며 vscode를 활용하여 작성되었습니다. 우선 아래의 명령어를 입력하여 nexus 프로젝트를 생성하도록 하겠습니다.
$ mkdir nexus-testing && cd nexus-testing
$ yarn install
$ yarn add nexus
$ mkdir api && touch api/app.ts
package.json 에 다음의 내용을 추가합니다.
"name": "nexus-testing","version": "1.0.0","license": "MIT",
다음은 jest를 설치합니다.
$ yarn add --dev jest @types/jest ts-jestpackage.json에 다음의 내용을 추가합니다.
"scripts": {
  "dev": "nexus dev",
  "build": "nexus build",
  "test": "jest",
  "jest": {
    "preset": "ts-jest",
    "globals": {
      "ts-jest": {
        "diagnostics": { "warnOnly": true }
      }
    },
  "testEnvironment": "node"
}
아래의 명령어를 입력하여 디렉토리와 스크립트를 추가합니다.
$ mkdir api/graphql && touch api/graphql/User.ts추가한 User.ts 에 아래의 내용을 입력하여 nexus 프레임워크의 schema를 활용해서 User object와 User의 리스트를 가져오는 query를 생성합니다. query의 return을 보면 ctx.db.users를 리턴한다는 것을 알 수 있습니다.
import { schema } from 'nexus'
schema.objectType({
  name: 'User',
  definition(t) {
    t.string('id')
    t.string('email')
    t.string('password')
    t.boolean('isSignIn')
  },
})
schema.extendType({
  type: 'Query',
  definition(t) {
    t.field('users', {
      type: 'User',
      list: true,
      resolve(_root, _args, ctx) {
        return ctx.db.users
      },
    })
  },
})
아래의 명령어를 입력하여 test에 사용될 임시 데이터를 지정하는 db.ts를 추가합니다.
$ touch api/db.ts추가한 db.ts에 아래의 내용을 입력하여 테스트용 데이터를 생성합니다. 이렇게 test를 위한 데이터를 임시로 만들어놓고 위에서 생성한 쿼리에서 ctx.db.users를 통해 데이터를 가져올 수 있게 됩니다.
export const db = {
  users:[
    {
      id: 'cuid1',
      email: 'jerry@email.com',
      password: '123456',
      isSignIn: false
    },
    {
      id: 'cuid2',
      email: 'dean@email.com',
      password: '123456',
      isSignIn: false
    },
    {
      id: 'cuid3',
      email: 'daniel@email.com',
      password: '123456',
      isSignIn: false
    },
  ]
}
api/app.ts 에 다음의 내용을 입력합니다.
import { db } from './db'
import { schema } from 'nexus'
schema.addToContext(() => {
  return {
    db,
  }
})
다음의 명령어중 yarn build 입력하여 user object와 query를 사용 가능한 상태로 등록합니다. 후에 yarn dev 를 입력하고 playground로 이동하여 해당 내용이 등록된 것을 확인할 수 있습니다.
$ yarn build
$ yarn dev

현재 database는 셋팅이 되어있지 않은 상태입니다. hackatalk 에서 위처럼 등록된 오브젝트와 쿼리를 test하기 위해선 database가 필요했지만 nexus 에서 제공하는 without database 방법을 사용하면 현재 상태에서 test가 가능합니다.
아래의 명령어를 입력하여 디렉토리와 스크립트를 생성합니다.
$ mkdir tests && touch tests/User.test.ts && touch tests/__helpers.tstests/__helpers.ts에 아래의 내용을 입력합니다. 해당 코드는 nexus without database를 그대로 가져온 것입니다.
import { TestContext, createTestContext as originalCreateTestContext } from 'nexus/testing'
export function createTestContext() {
  let ctx = {} as TestContext

  beforeAll(async () => {
    Object.assign(ctx, await originalCreateTestContext())
    await ctx.app.start()
  })

  afterAll(async () => {
    await ctx.app.stop()
  })
  return ctx
}
tests/User.test.ts에 아래의 내용을 입력합니다.
import { createTestContext } from './__helpers'
const ctx = createTestContext()
it('query - users', async () => {
  const usersResult = await ctx.client.send(`
    query {
      users {
        id
        email
        isSignIn
        password
      }
    }
  `)
expect(usersResult).toMatchSnapshot();
})
이제 다음의 명령어를 입력하고 users query를 테스트해보겠습니다.
$ yran test
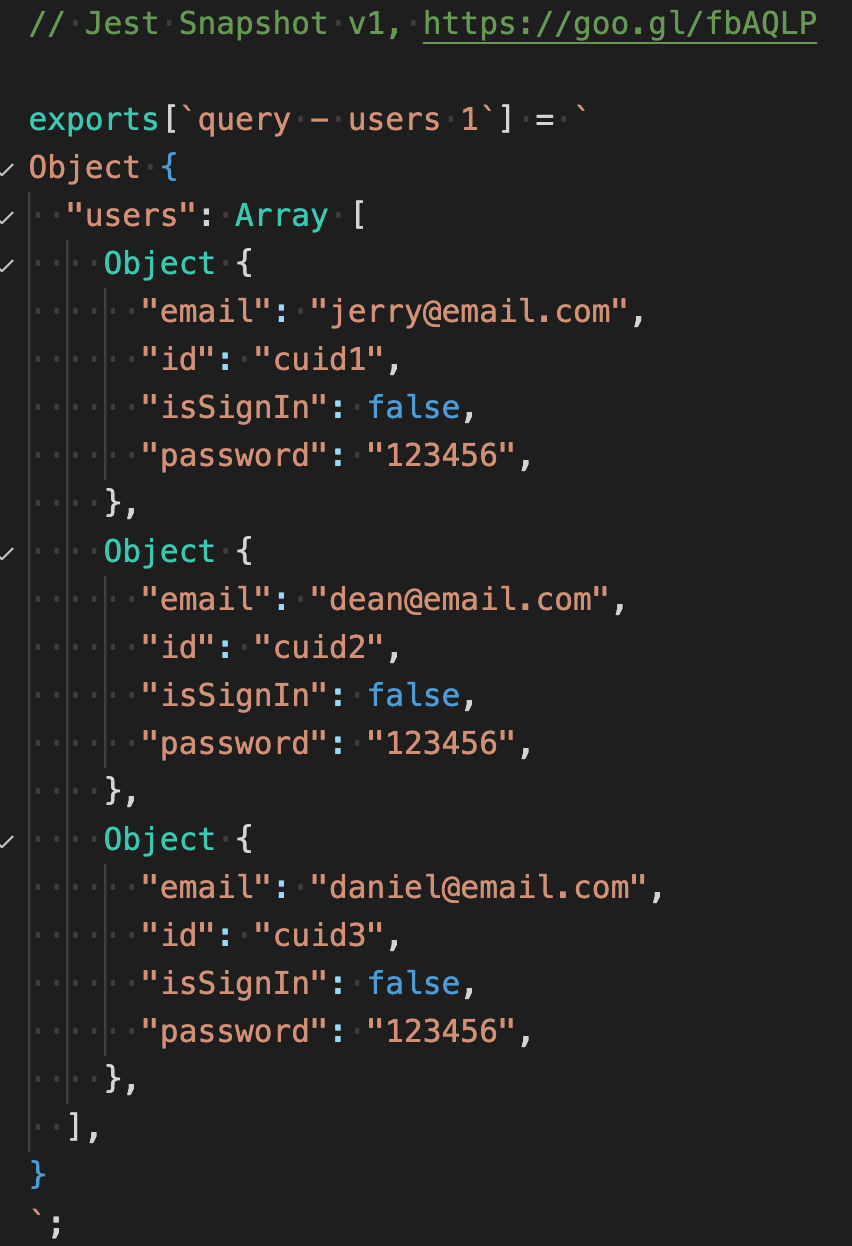
test가 성공하면 아래와 같이 snapshot이 저장됩니다.

만약에 api/db.ts 에 테스트용 데이터에 변경사항이 있을경우 yarn test를 진행하면 다음과같은 결과가 나오며 테스트에 실패합니다.

이런경우 아래의 명령어를 입력하여 스냅샷을 업데이트 해줍니다.
$ yarn test -u
$ yarn test -u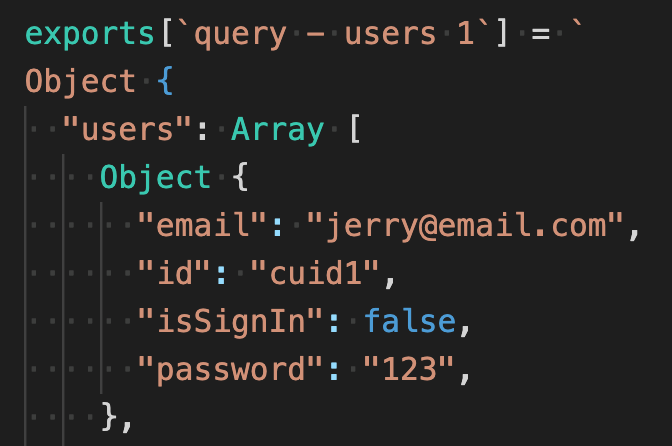
이상으로 데이터베이스 없이 테스트하는 방법에 대해 알아보았습니다. 해당 방법을 사용해서 query , mutation 등을 테스트하고 차후 prisma를 활용해 데이터베이스에 연동해주는 부분만 추가해주면 됩니다. 아래 github 링크에 위 예제를 올려두었습니다. 몇가지 mutation , qeury를 더 추가 하였으니 예제를 보면서 흐름을 파악해보세요! :)
https://github.com/jhk-im/nexus-testing
GitHub - jhk-im/nexus-testing
Contribute to jhk-im/nexus-testing development by creating an account on GitHub.
github.com
'Backend > GraphQL' 카테고리의 다른 글
| Nexus GraphQL tutorials (1) - GraphQL이란? / setup and first query (0) | 2020.11.29 |
|---|---|
| Introducing Major improvements to Prisma v2.6.0 (0) | 2020.11.25 |
| Testing graphql-resolver made with nexus without database (0) | 2020.11.25 |
| Prisma CRUD, data modeling, aggregations (prisma 공식 유튜브 영상) (0) | 2020.11.25 |
| Hackatalk opensource server setting guide (0) | 2020.11.25 |


